When you dash off for a weekend camping vacation, most of us just don’t sweat the details. I know, I don’t and that is what gets us all into trouble. Last camping season, the wife, grand kids, and I headed out for just such a weekend. It was early in the season and when we got to the campsite we were the only ones around.
So far so good. We had a great time exploring the Spring outdoors and when we were ready to go the truck would not start. Normally that would not be a problem because, we would have lots of fellow campers around us to help out. Not this time. There also was the time we were on our way to Branson MO to meet relatives, when one of the trailer tires decided to blow and the spare was nearly flat. Forgot to air up the spare tire at the beginning of camping season. Hey it happens. Short term memory fading as I get older.
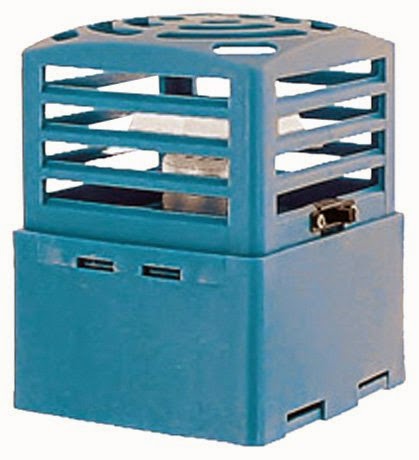
All of this drove home the point that Murphy is always with us and bad thing happen to good people as well. So what is the solution? One of these, 12Volt Emergency Power & Tire Pump
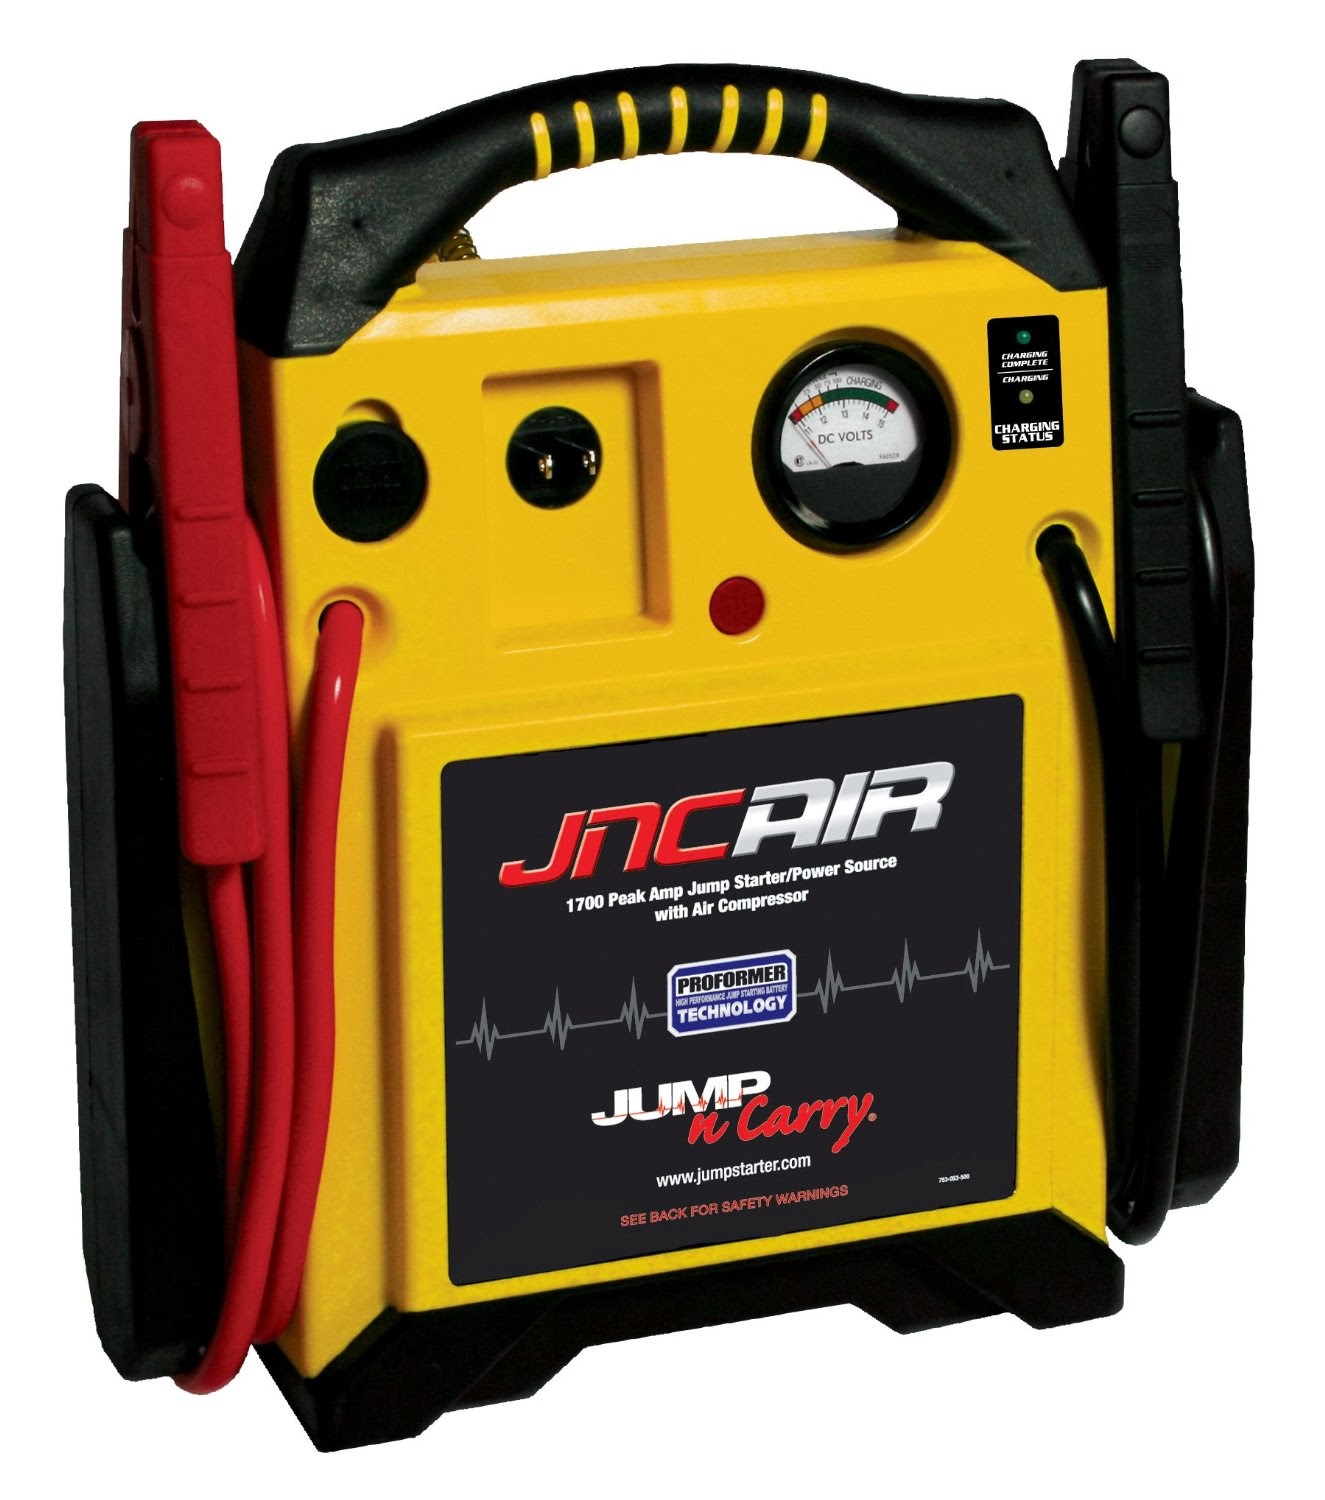
What this thing does is provide emergency power to start your truck not all of the units that look like this one will start a V8 or larger engine, as well as an air station to pump-up just about anything that needs air. You can use a standard AC extension cord as the power cord to charge the unit up. You can even leave it plugged in for a continuous charge and not damage the unit. Oh, it does have a DC output jack that may be used for 12volt stuff. Also it has a built-in tire pump that will pump up most TT and 5th wheel tires. Again many of these combo units can not pump up a RVs tires before the cows come home. As always be sure you check your rigs tire pressure when the tire is cold not when it has been run on the road for several hours.
NOTE: To find out more about the care and feeding of your RV tires please see the first entry of this Blog located on the bottom of the blog.
But I hear you say that you needed something that had AC power like the 110volts that comes out of the power pedestal that your RV is plugged into. Fear not, because you can use one of these, 110volt and USB Dual Power Inverter
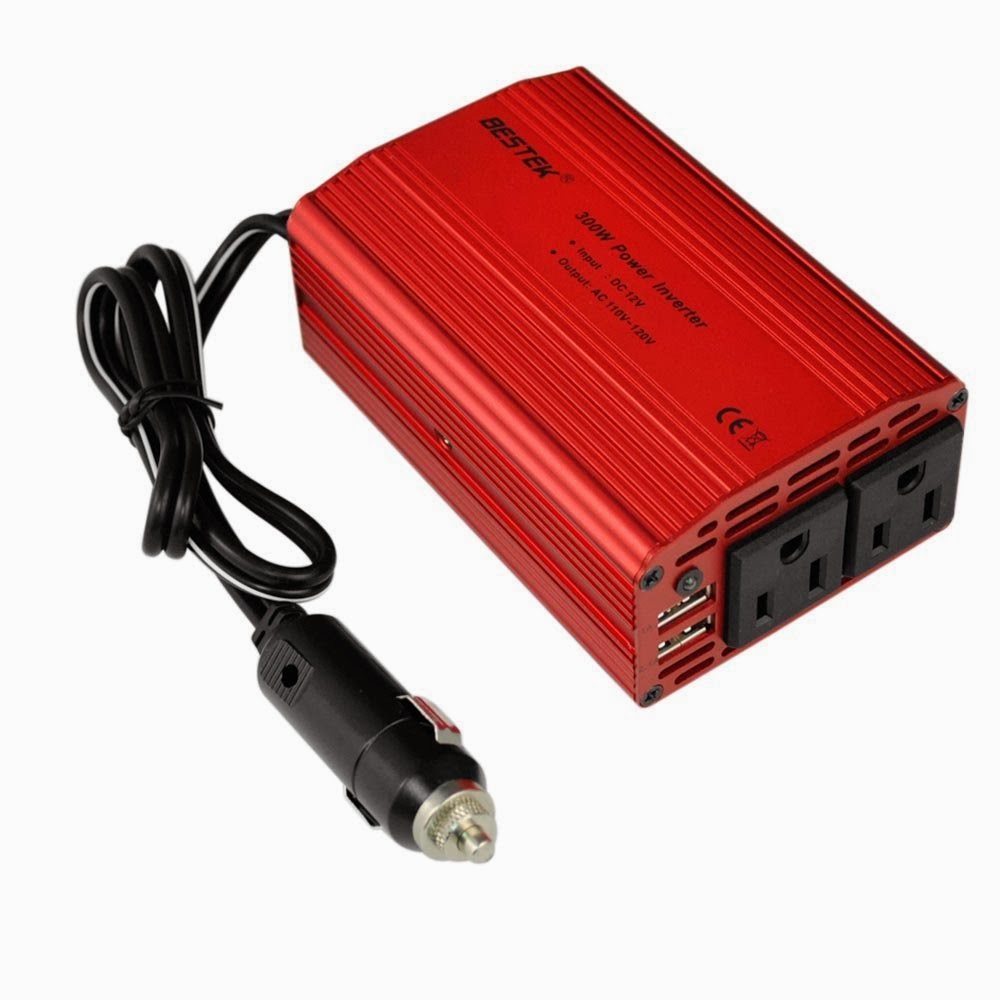
110volt and USB Dual Power Inverter
The 300W DC-AC Power Inverter with USB charging ports is designed for most major brand notebook computers, digital portables devices like, video camcorder, digital camera, iPhone, Galaxy phones and computers, iPod, cell phone, PSP handheld Game, DVD player & etc.
You may want to pick-up the battery hook-up cable just in case. It looks like this, 12volt Battery Clip-on Accessory Socket
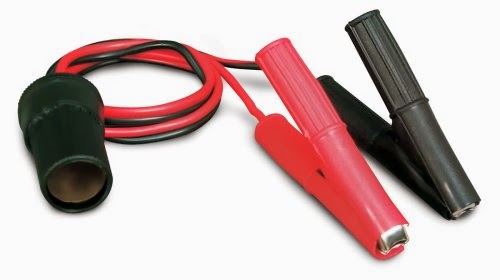
This device allows you to hook-up to any 12volt battery or any device that has 12volt battery clamps, such as the 12Volt Emergency Power & Tire Pump.
Some of us will like a bit more AC power than the little power converter above can provide, if that is the case you might want to consider this, 1000watt Power Converter
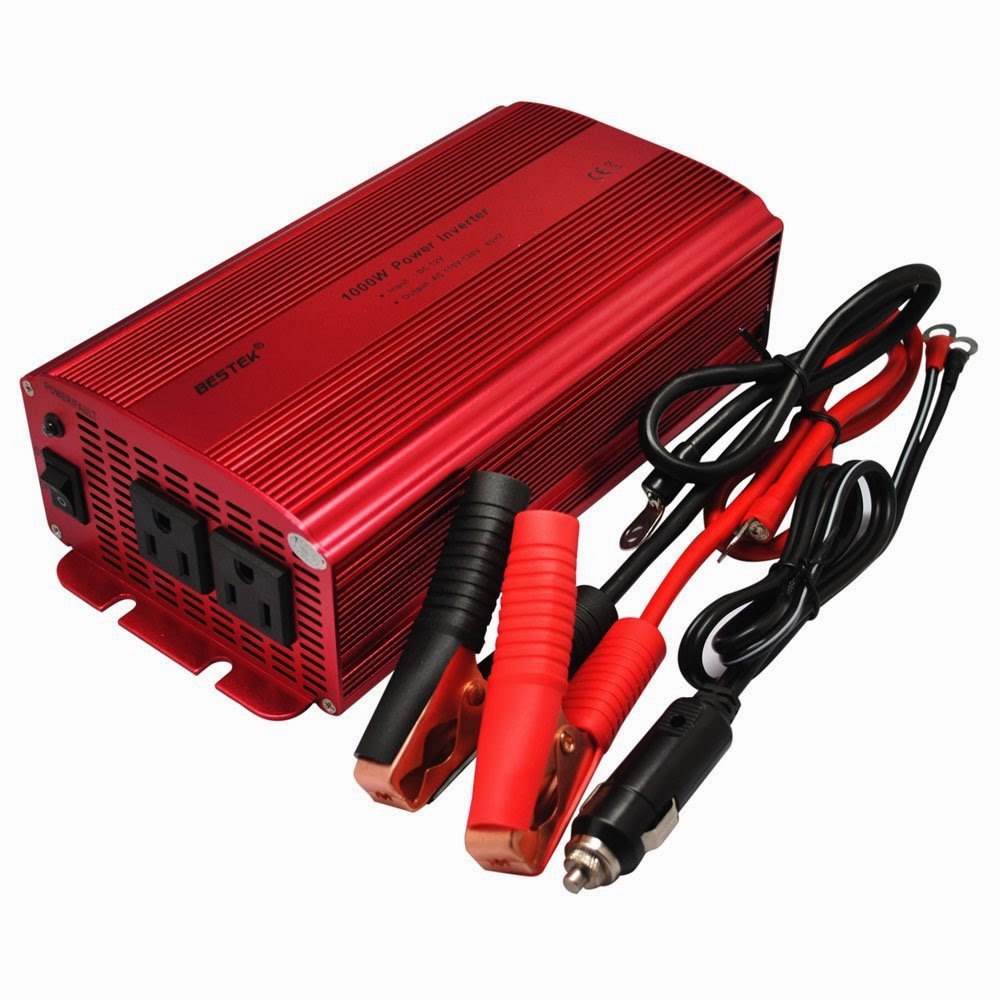
This more powerful converter can power notebook computers, TVs, fans ,refrigerators, game machines, DVDs, lights, musical instruments. And can be powered by the 12Volt Emergency Power & Tire Pump above. So if you need 110volt power at the picnic table or anywhere while camping, there are ways to get it that will help keep your family safe and make camping fun.
Don’t forget that you can use Emergency Power at home when the lights go out to recharge your cell phones and provide power for lights.
Until Next Time