I read all the time that one of the biggest fears people have when RVing is a blown tire and the massive amount of damage that it can cause. But I rarely read about a Fulltimer or a Newbie adding or adjusting a Tire Pressure Monitoring System (TPMS). Why? I doubt that every RV sold comes with a tire monitoring system. I just got back from one of the big RV shows and not one 5th wheel that I looked at came with a TPMS nor did a single salesman recommend a tire monitoring system during the sales presentation. I also read that more than 60% of the RVs on the road today are overloaded or worse that the tire pressure on the RV is below the manufacturer’s recommended tire pressure. To make it worse [if that is possible] many of the RVs going down the highway, are going at 70 mph or higher. Even though the RV’s tires are marked not to exceed 65 mph. As we get our RVs ready for another season of camping, let’s look at what we need to do to be safer going down the road and monitoring our tires.
1.
You need to check the tire pressure when the tire is still cold.
It has been shown, by an infrared thermometer, that after only 10 minutes of Summer Sun, that the temperature of RV tires have risen above COLD and should not be measured for pressure and thought to be cold. After you have driven 1 mile the RV tires are not considered cold and should not be tested for pressure as being cold.
2.
When you stop for gas or a bathroom break, you should do a tire check of the RV as well as the tow vehicle. My daughter was checking the tow vehicle for me and found a large cut in the sidewall of the truck tire. We were able to get the tire replaced before the large accident occurred. I did not even remember hitting or running over anything on the highway.
3.
Before starting out on the RVing trip be sure to carefully look at the tread, and the side walls both on the front and the back of the tire. Most RV tire experts agree that if your RV tires are more than five years old from the date of manufacture [shown in a code on the tire] you should replace them.
4.
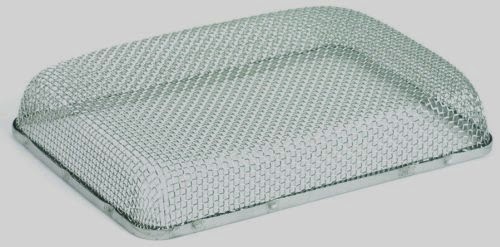
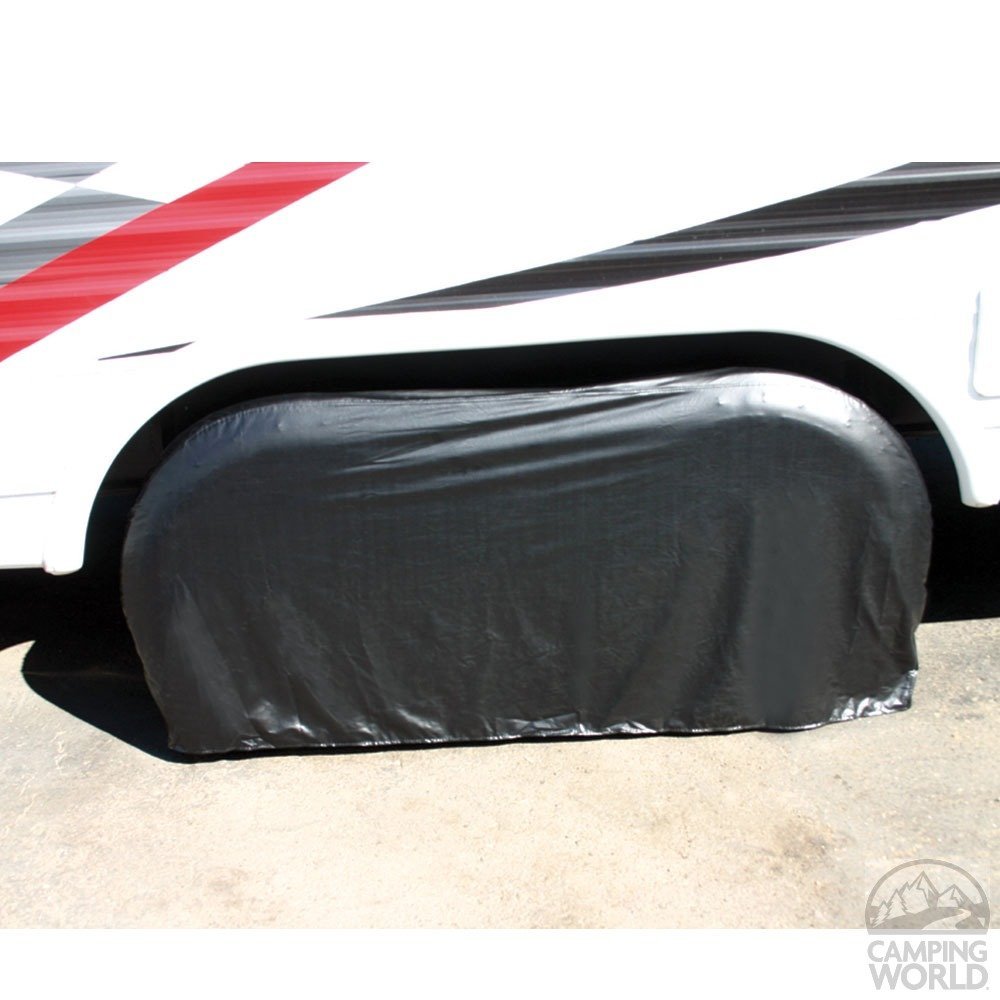
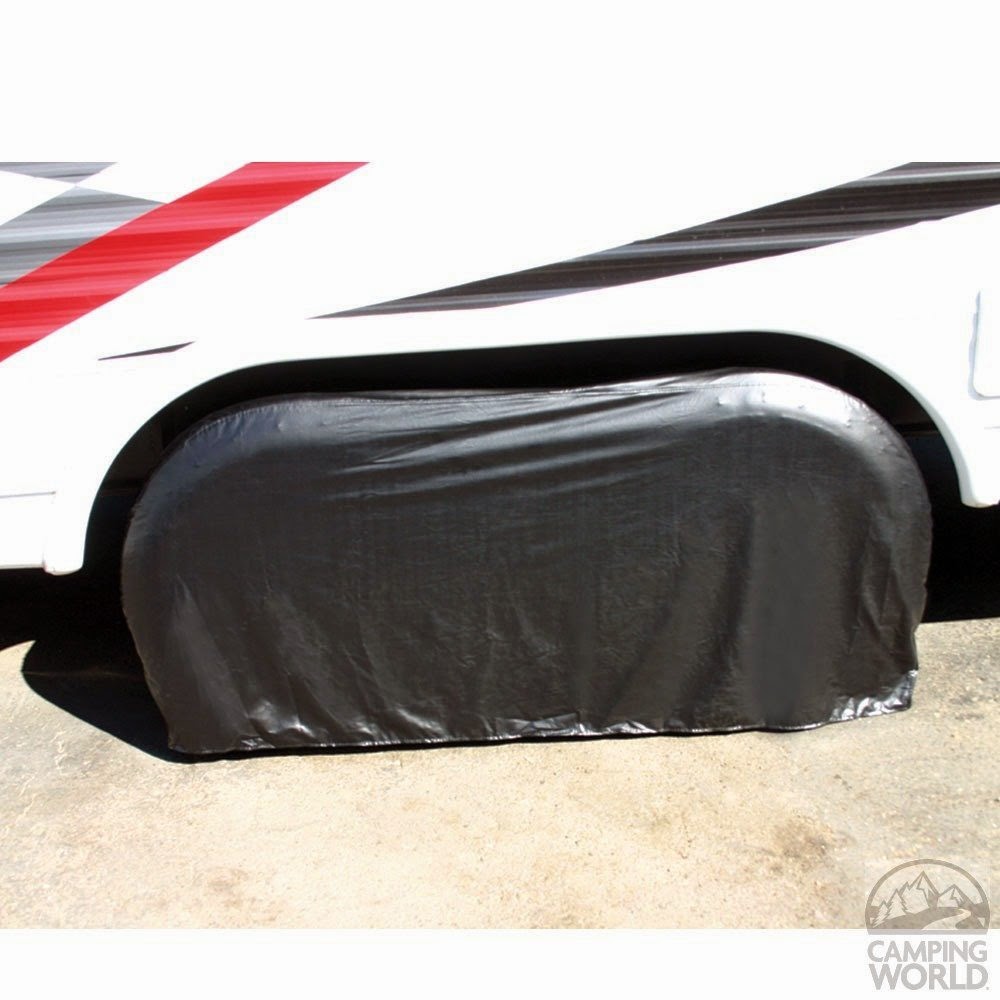
Most tire failures occur when the side wall of the tire is under inflated or rots out from the inside where you can not see. Remember you are riding on air, the tire just keeps the air captured and held in place. You can thank Mr. Sun for sidewall failure in some cases. Most tires have a Mr. Sun inhibitor built-in but when a tire sits and sits the inhibitor does not get moved to the outside of the tire by the tire going round and round. Now you see why you need wheel covers right? Trailer Wheel Covers for less than $25.
OK, I have exposed you to some of the basic safety things you need to do, now let’s look at those Tire Pressure Monitoring Systems.
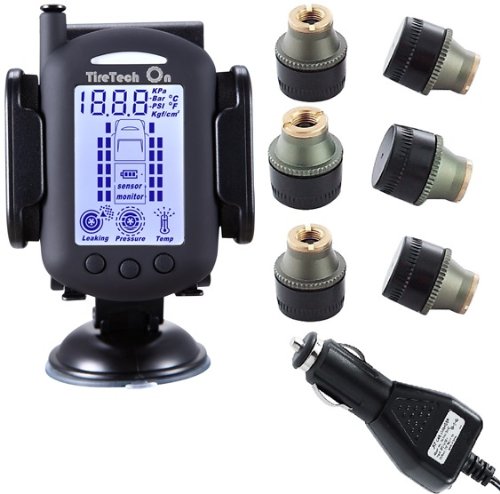
A good system for monitoring your tire pressure as well as the tire temperature is the Wireless Tire Pressure Monitoring System .
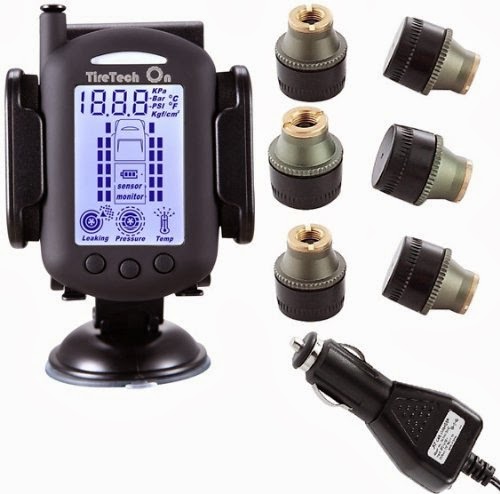 |
The system will tell you of an overheated tire, in most cases before it blows, and of course tell you of low pressure in any monitored tire, even the spare, in real time.
- Monitors up to 22 wheels (0-232 psi)
- Quickly reacts to abnormal pressure or temperature
- Waterproof & Dustproof sensors;
- Customizable Tire Pressure Monitoring Criteria
- Sensor Alarm system included; Locking Ring to Guard Against Theft
- For use in RVs, SUVs, Caravans, Trucks, & Passenger cars
RV Flow-Through 6 Tire Sensor – Tire Pressure Monitoring System (TPMS)
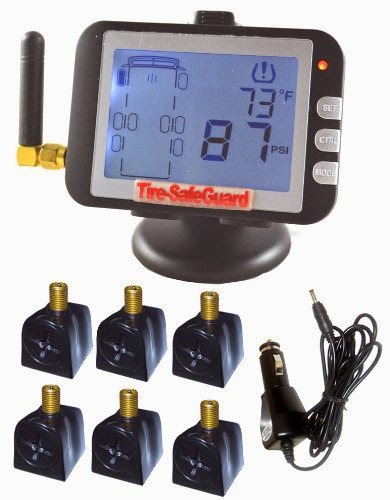
RV Flow-Through 6 Tire Sensor – Tire Pressure Monitoring System (TPMS)
- The flow-through sensor with replaceable battery can be secured to prevent loss or theft
- Portable monitor has rechargeable battery and monitors tire pressure 0-199 PSI & temperature
- Monitor tires 24/7: low/high pressure, high temperature, and slow leaks.
- Monitor warning thresholds are user adjustable; low-pressure alert level is per axle adjustable.
- Tire sensor signals have excellent range and not require signal booster for most vehicles
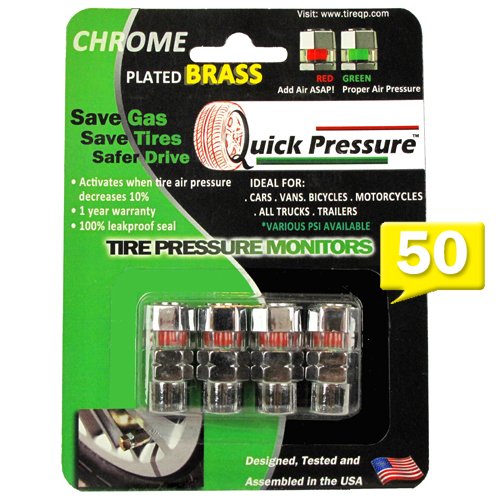
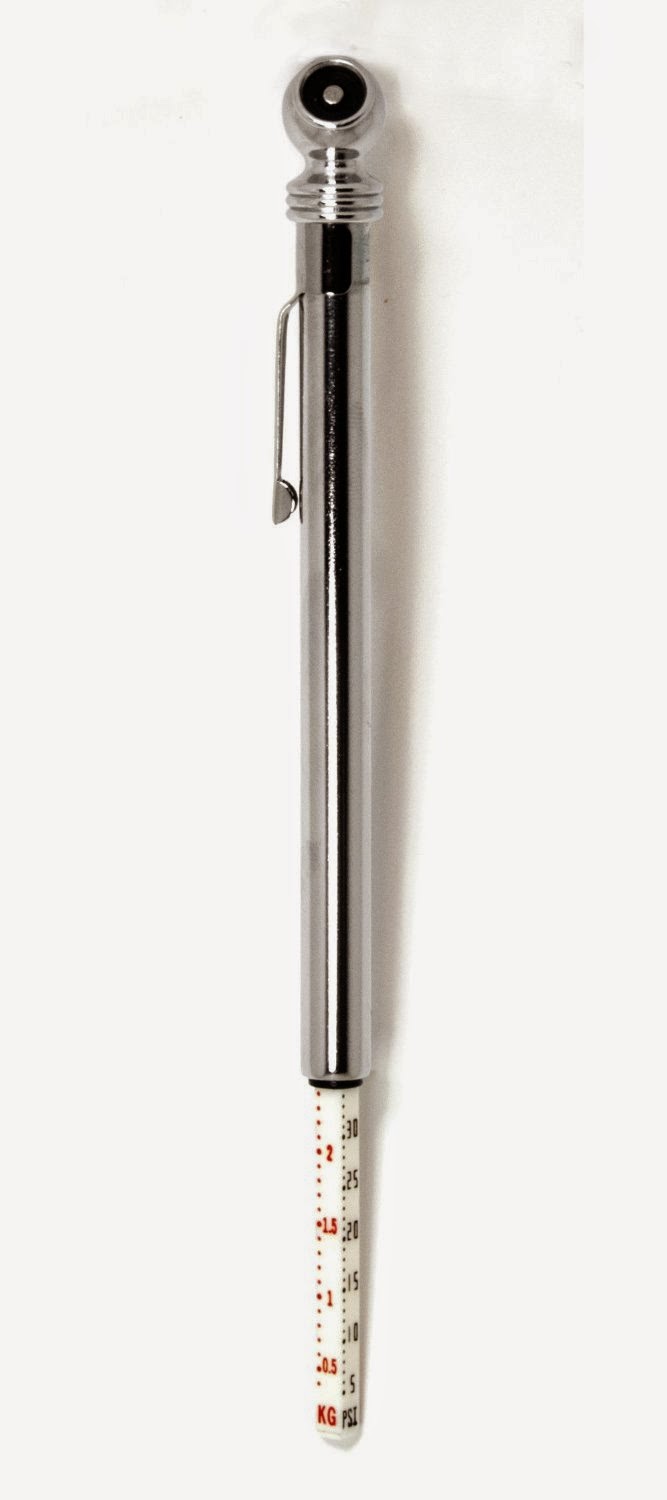
As a lower cost alternative, you can use a screw-on tire pressure indicator, such as Quick-Pressure-PSI-50-Monitor, which at a glance can tell you that you may have a problem [use only if your tires are supposed to have 50 lbs of air when cold. Other pressures are available] and the traditional pencil like gauge, such as Pencil-Pressure Gage .

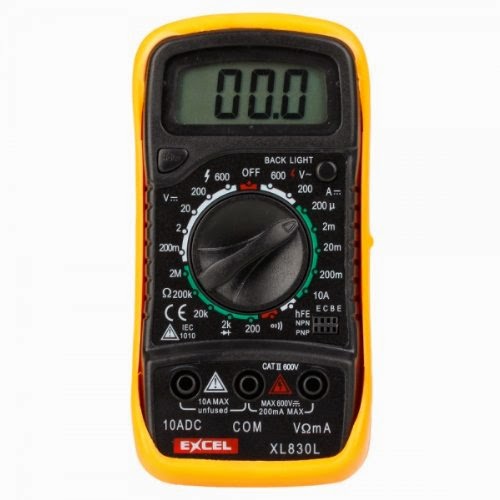
A low-cost way to check the tire and the tire hub temperatures is to use a non-contact Infrared temperature gun. Such as the HDE Non-Contact Infrared IR Temperature Gun Digital Thermometer
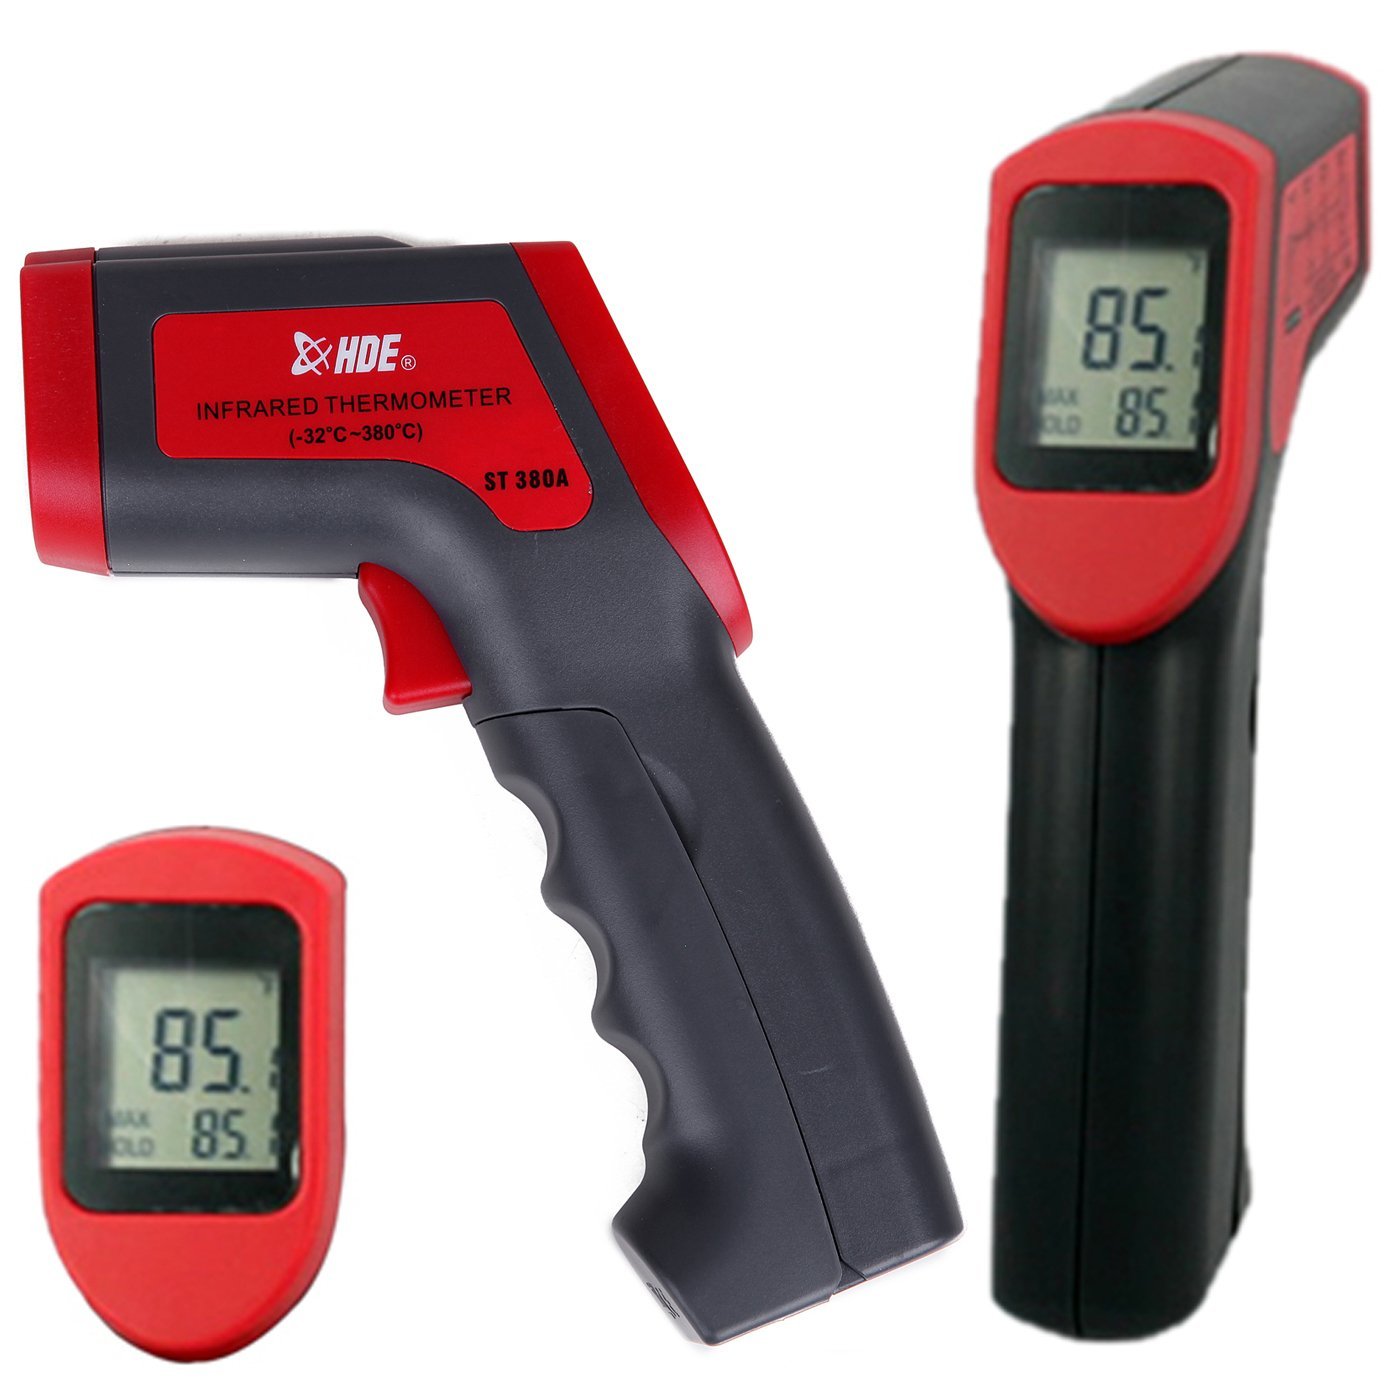
As you stop during your travels you can check the tire temperature and hub of each tire. They should be with-in a few degrees of each other. If you find a tire or hub that is very much higher than the rest you should take action to find out why before you proceed.
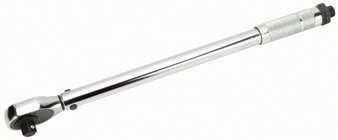
The first thing you should do is to check the air pressure of the tire that is over heating. I know that you have been traveling awhile but the pressure in the HOT tire should be with-in a few pounds of the rest of the tires on the rig. You might want to consider a digital tire pressure gauge such as the NorthONE Digital Tire Pressure Gauge.
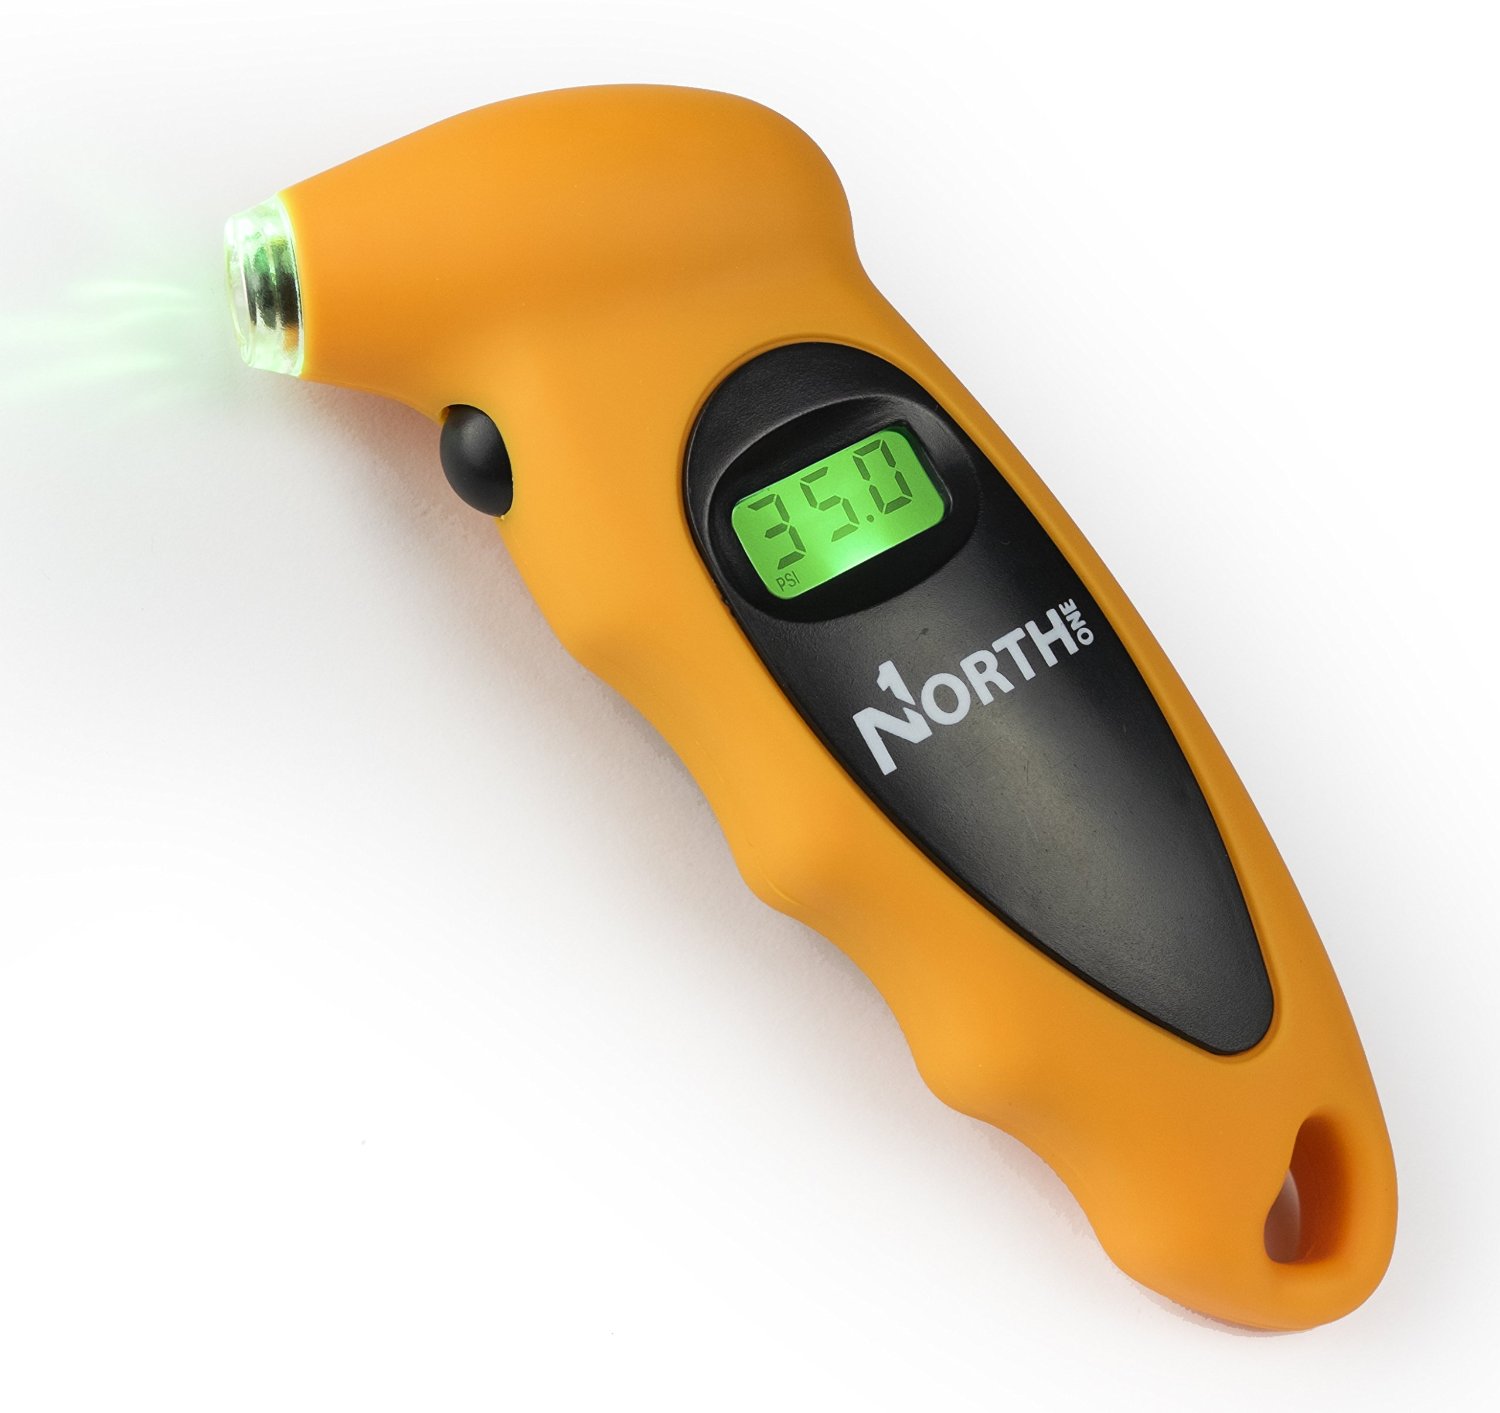
NorthONE Digital Tire Pressure Gauge
Just be sure that the gauge you buy can read pressures above those that your tire is supposed to have in it.
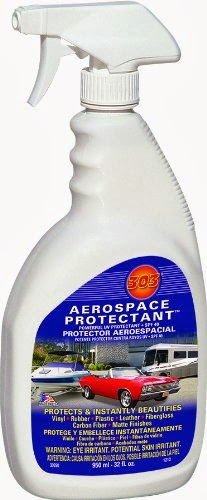
To protect the tires in storage from Mr. Sun and any other nasties that come along. You can also use an RV tire protective spray which is applied, as directed, to the tire side wall that is exposed to the sun.
I have used RV Tire Protection Spray with good luck. This spray is not designed to make the tire side wall shinier, it is not a decorative spray, but something that is designed to put back into the surface of the rubber what Mr. Sun is taking out.
 |
Also, note, that if you are going to store the RV for an extended period of time you should protect the tread of the tire from the surface that the tires are sitting on. Nasty things can leach out of your tires into the blacktop or concrete that your RV sits on while being stored. Or from the blacktop or concrete into your tires during storage. You can use an Office Chair Carpet Protector
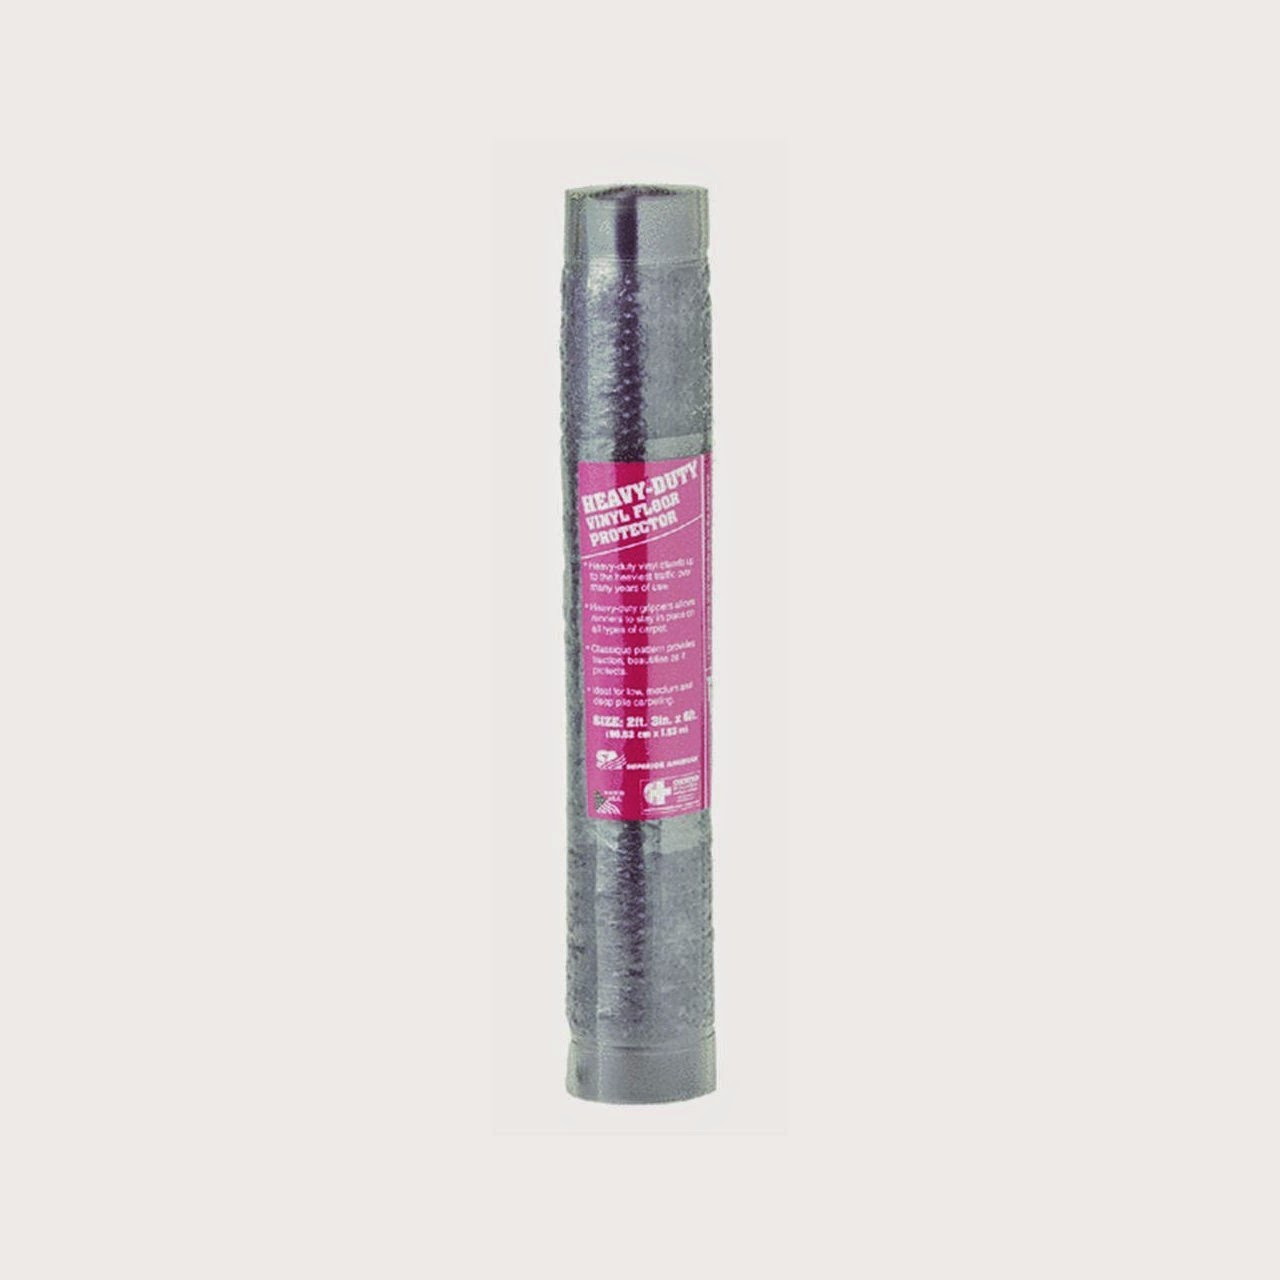
as a way to protect your tires during storage. It is an inexpensive solution to tire protection during storage.
I hope this better explains why it is important to know what is going on with your tires and also helps with the fear factor.
Until next time.
And finally, please remember that this blog is an Amazon affiliate. When you order something through any of the Amazon links, it doesn’t add anything to your cost, but I do earn a small commission on everything you buy. Just click on an Amazon link, then shop as usual.